When you cut a service-access opening into a TPU-coated inflatable tent, you’re altering the pressure envelope and the stress map at the same time. This guide shows how to place and reinforce an airtight zipper so you preserve structural strength, sealing integrity, and—because deployments are mobile—packability and weight.
Key takeaways
- Place openings on flat, low-stress wall panels; avoid airbeam crowns, base anchors, and tri‑seam intersections to protect strength and reduce leak risk.
- Favor vertical zipper orientation to interrupt hoop stress as little as possible and to pack smaller; use gentle arcs, not tight corners.
- Use TPU-compatible inner/outer reinforcements with rounded end terminations; avoid sharp corners that seed cracks and leaks.
- Keep the assembly lightweight: optimize doubler area and thickness; log grams added per doorway and confirm foldability after cure/cool.
- Qualify your joining method (RF, hot‑air, iron) with coupon tests and verify seams via peel/shear checks and pressure‑decay plus bubble tests.
- Maintain negative pressure per authoritative guidance while planning vestibules/anterooms near access points.
Why medical isolation inflatables change your zipper decisions
Negative‑pressure shelters aren’t just tents—they’re controlled airflow systems. Openings must support containment and rapid resealing. For airborne infection isolation contexts, design guidance commonly targets a pressure differential around −2.5 Pa and ventilation of 12 ACH or more, implemented with appropriate exhaust and monitoring. See the Alternative Care Site HVAC guidebook for field deployment context in ASHRAE’s ACS materials: ASHRAE ACS HVAC Guidebook. For isolation practices and operational ventilation notes, review CDC’s environmental control recommendations: CDC Infection Control — Environmental Control Recommendations.
Implication: Place doors where they can be quickly sealed, with clearance to integrate a simple vestibule or anteroom when required. Keep pressure monitoring close to high‑traffic openings.
Airtight zipper placement for inflatable medical shelters: principles that preserve strength and packability
The objective is to protect the stress paths of airbeams while keeping weight and folded volume low.
Place away from high‑stress zones. Avoid airbeam crowns (peak hoop stress), base anchor interfaces, and panel tri‑seam intersections where loads transfer sharply. Keep clear of tight radii near beam ends or hard corner geometry, which amplify stress and complicate sealing.
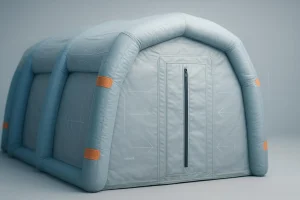
Prefer low‑stress, flat wall panels. Mid‑height vertical runs often work well, with sufficient clearance from existing welded seams so heat‑affected zones don’t overlap. Favor vertical orientation because it minimally interrupts circumferential (hoop) stresses on cylindrical beams and typically yields a smaller, neater fold when packed. If curvature is needed, route gentle arcs rather than sharp corners that kink sliders and invite crack initiation. Reserve space to add a lightweight flap or anteroom to support containment while people or carts pass through.
Materials and tools (lightweight-focused)
- TPU‑coated base fabric and compatible inner/outer reinforcement doublers (same or compatible grade for RF/heat fusion)
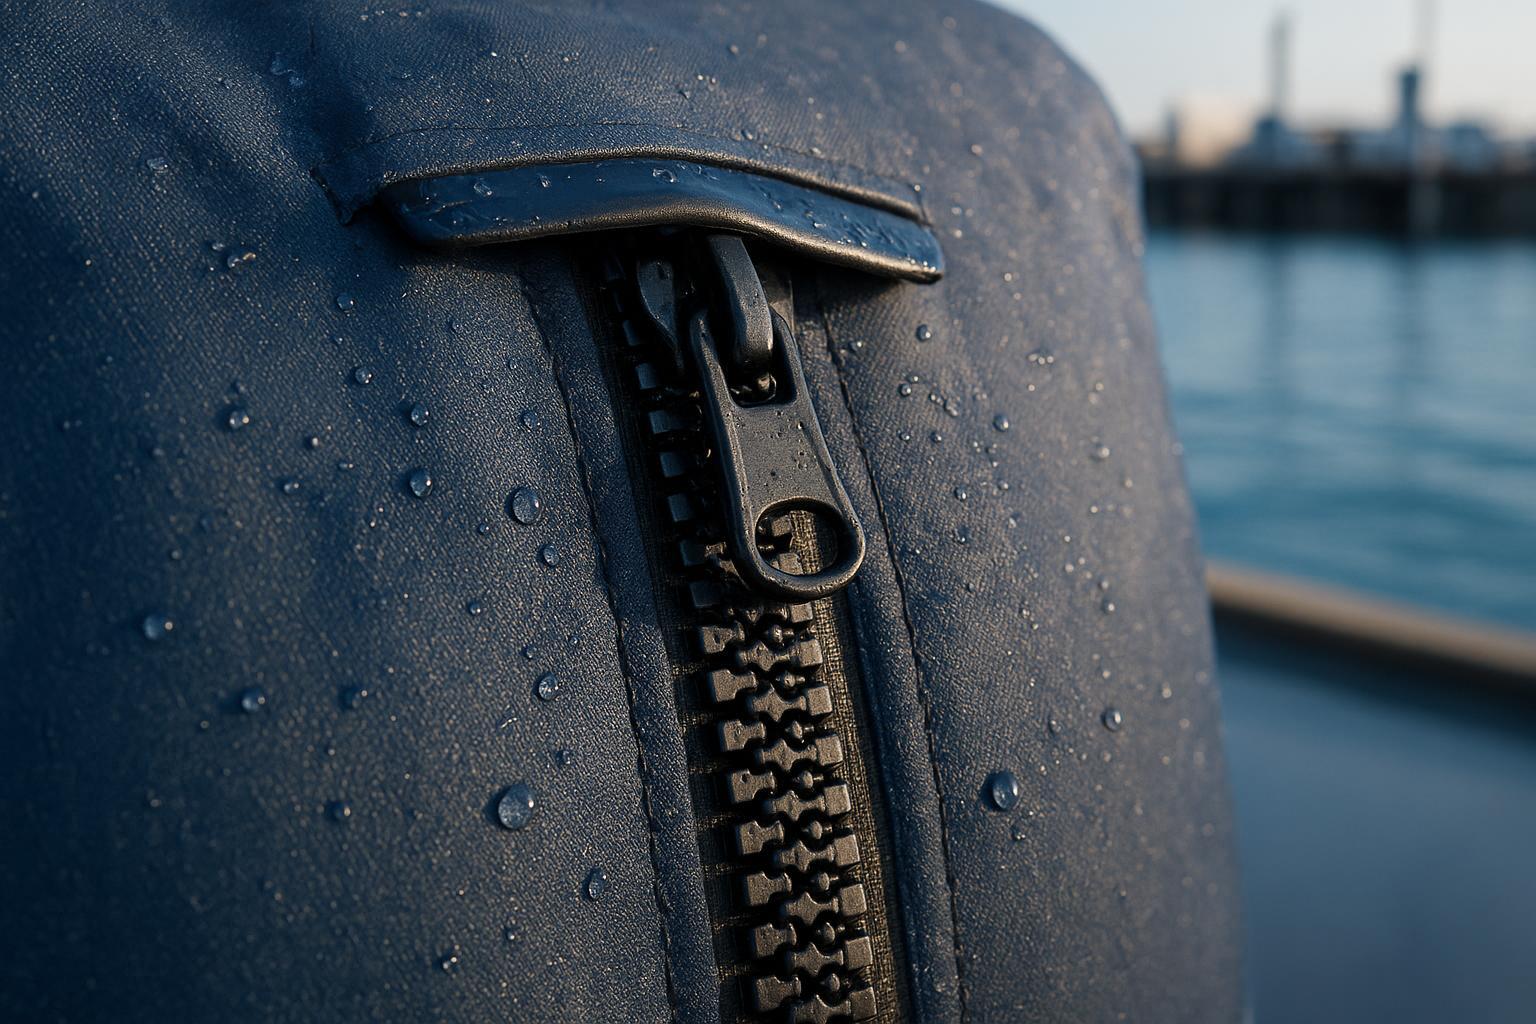
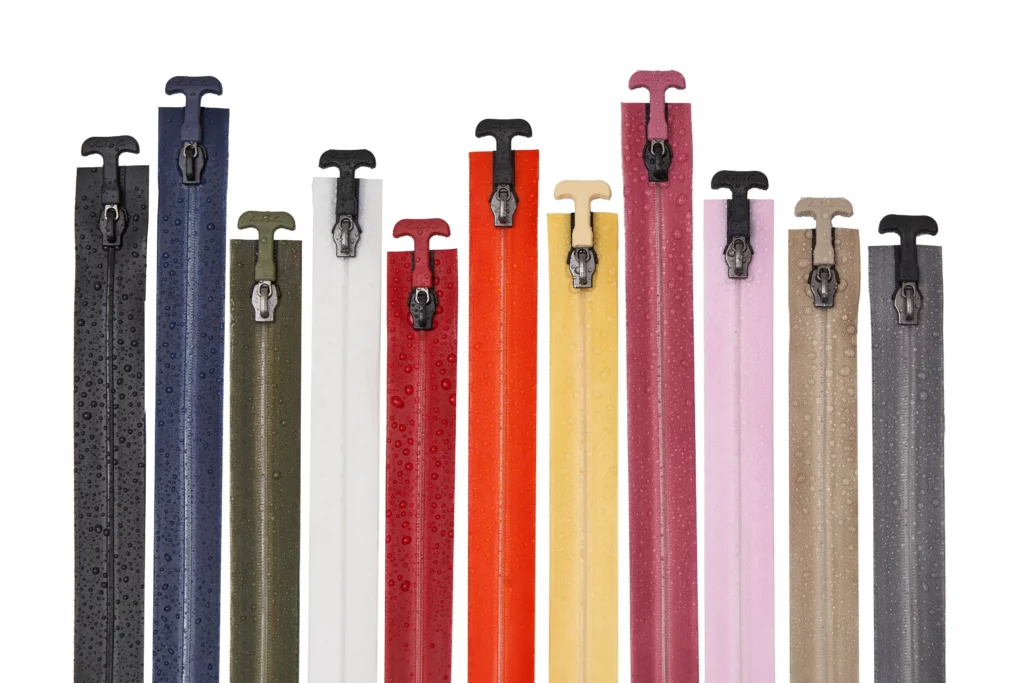
- Airtight zipper designed for welding/bonding to TPU‑coated textiles
- End‑termination parts: slider garage/hood, end caps; optional protective flap material
- Joining equipment: RF welder or controlled hot‑air/iron setup; silicone roller; flat anvil and simple clamping jigs
- Layout and test kit: radiused cutting templates, precision knife, masking tape, manometer/pressure gauge, diluted surfactant for bubble tests, lint‑free wipes and approved solvent (per fabric supplier), PPE
Tip: Track added mass. A typical doorway with lean doublers can add a few dozen grams; log this so design can manage the grams-per-zipper budget across the shelter.
Step-by-step installation workflow (TPU‑coated membranes)
Below is a hands-on sequence you can run in a factory cell or well-prepared field shop. Think of it as your standard work—with safety, cleanliness, and documentation baked in.
- Pre‑placement assessment Map stress paths visually: avoid crowns, anchors, and tri‑seams. Pick a flat wall panel aligned with traffic and with room for a vestibule if needed. Verify the zipper’s TPU tape is compatible with the fabric’s coating. Clean surfaces thoroughly.
- Layout and masking Mark a vertical zipper path with gentle arcs if required. Template rounded end‑terminations. Mask surrounding areas to shield from heat and scuffs.
- Cut the aperture Use sharp, radiused templates to avoid nicks. Deburr or smooth the cut line if the substrate frays. Dry‑fit the zipper along the path to confirm tape lay.
- Tacking and alignment Tack with low‑residue tape and light clamps. Check squareness so the slider won’t bind. Maintain even tape edge distance from the cut.
- Primary weld/bond
- Hot‑iron or hot‑air starting window: Many TPU‑to‑TPU systems respond near ~205–225°C for iron-based sealing with brief dwell and immediate pressure using a silicone roller; adjust for your fabric weight and coating thickness. Practical technique guidance with photos and process tips is available here: Proper heat sealing technique for TPU-coated fabric.
- RF welding: Parameters are material- and machine-specific. Consult your material and equipment suppliers; qualify settings on coupons before committing to full-length seams. Proceed symmetrically (alternate left/right segments) to limit distortion and keep the panel flat. Apply firm roller pressure during cool-down to lock the fusion layer.
- Reinforcement doublers Install inner and outer TPU‑coated doublers with rounded geometry that extends beyond the zipper ends. Feather patch edges so stiffness transitions are gradual—this protects foldability and slider motion. Keep overlaps generous but not bulky; validate the minimums during prototyping.
- End‑terminations and sealing details Add a slider garage/hood and end caps. Ensure the air barrier continues cleanly into adjacent seams. If exposure to spray is likely, add a lightweight protective flap that doesn’t trap water or create hard folds.
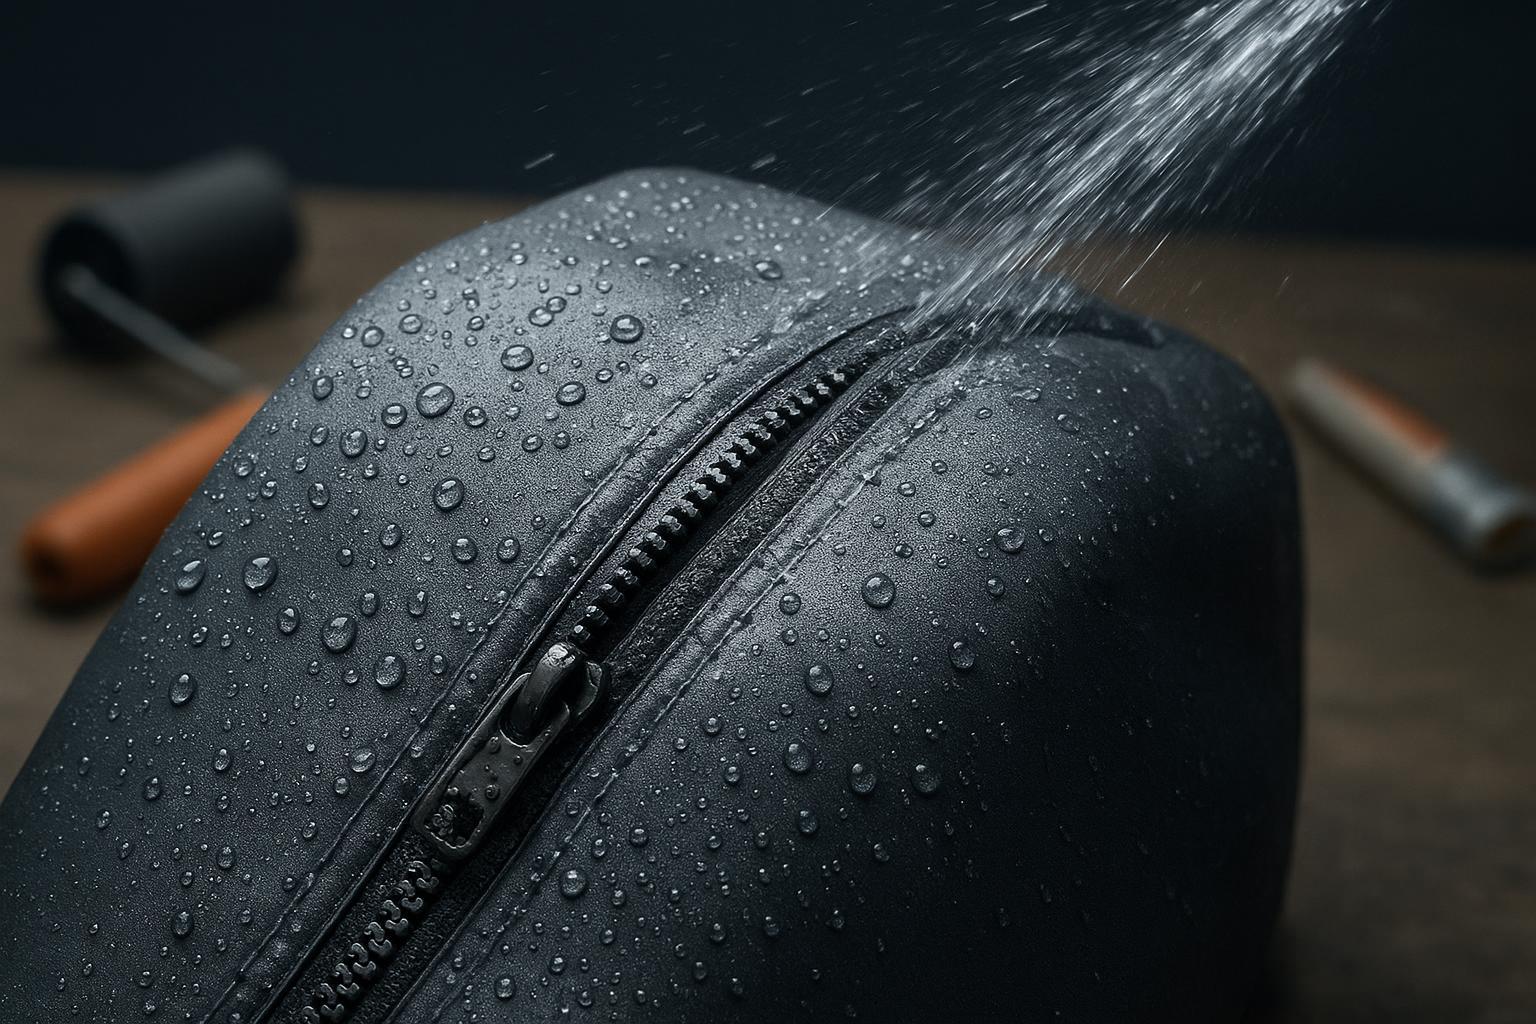
- QC and leak testing Perform a visual continuity check for voids, skips, and scorch. Then run a bubble/soap test along ends and transitions while under slight differential; finish with a timed pressure‑decay measurement at a nominal operating setpoint. Record the ambient temperature and barometric pressure with results.
- Documentation Capture joining parameters, pass/fail notes, any rework, and the added mass/packed volume deltas. These records speed future builds and field repairs.
Reinforcement templates and end-termination geometry
Rounded geometry reduces stress concentrations and prevents crack starters. Keep the assembly light but robust by optimizing overlap and tapering patch edges.
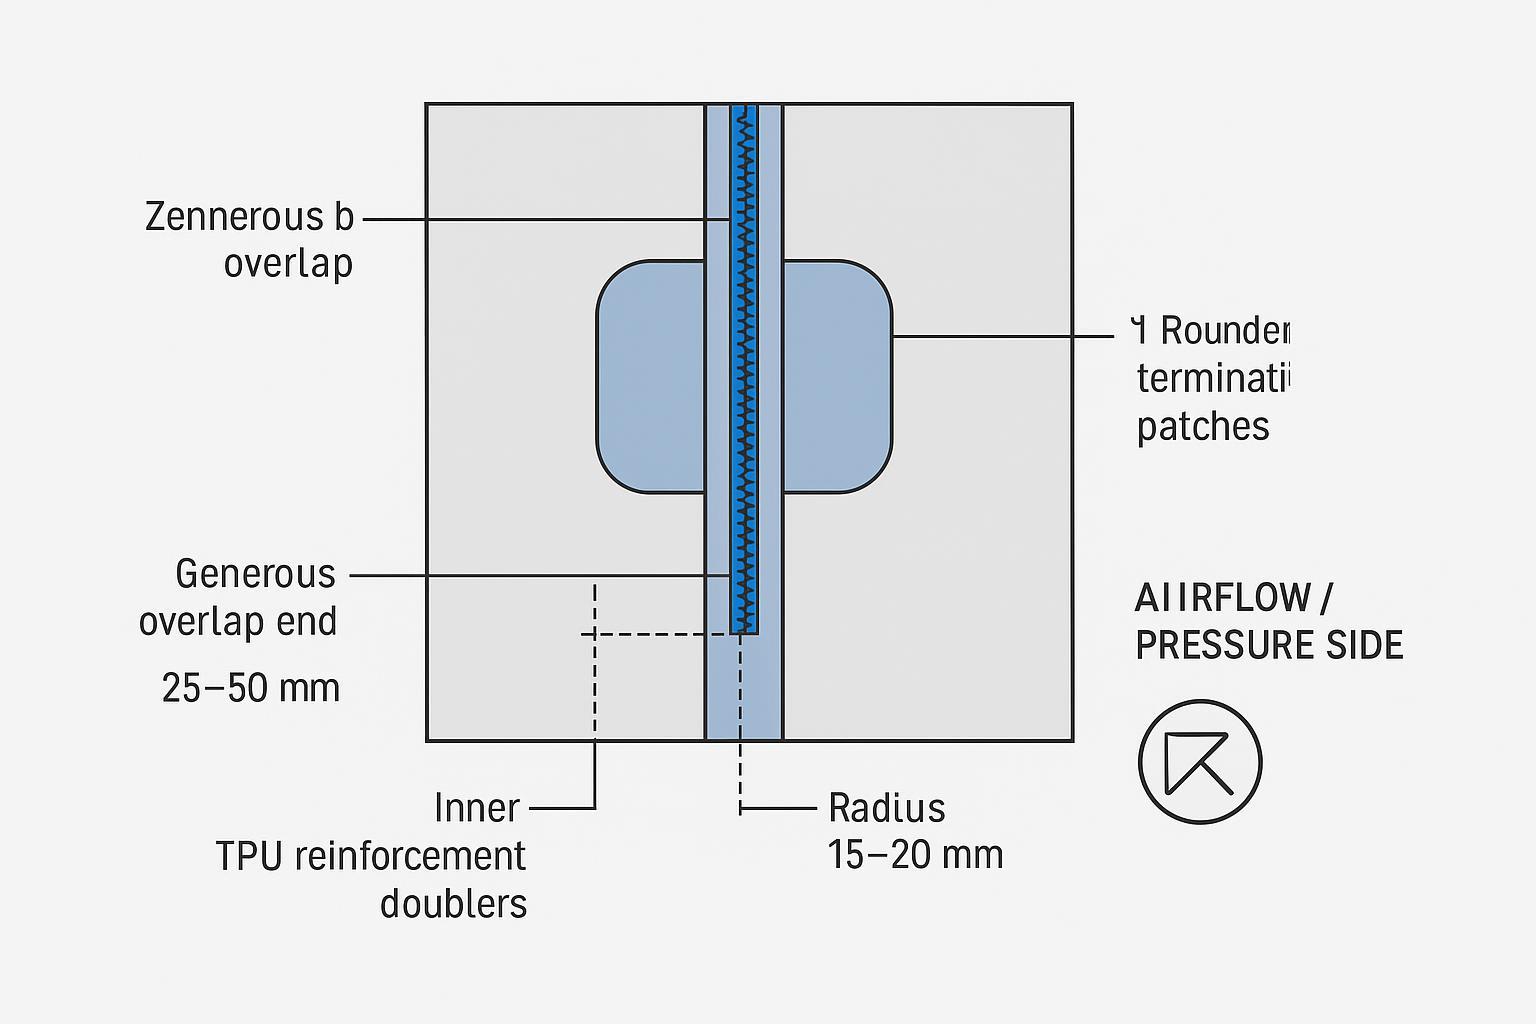
Design notes: As a starting point for prototypes, 25–50 mm overlaps beyond the zipper tape edges often balance strength and mass; confirm via peel and seam tests. Use generous radii at both ends rather than square corners to protect fold lines and slider entry/exit. Feather the doubler edges (e.g., stepped or tapered profiles) to avoid hinge lines that create jamming or fold cracks.
QA/QC: seam strength and leak checks
Your objective is a joint that stays sealed through cycles, folding, and handling.
- Peel/seam integrity context. For coated-fabric assemblies, adhesion/peel and seam strength are the core checks. An accessible overview that maps to common standards (e.g., ASTM D751 methods) is here: Adhesion testing for performance textiles. Use coupons to confirm margins on your actual fabric and zipper tape.
- Pressure‑decay and bubble tests. After visual inspection, run a bubble test over zipper ends and patch transitions (no visible bubbling is a conservative pass). Then measure pressure‑decay at a nominal operating setpoint and time interval; define internal acceptance criteria during prototyping, considering your HVAC design targets. For operational ventilation practice in isolation environments, see the CDC’s air guidance: CDC Infection Control — Air.
- Low‑temperature handling. If your deployment includes cold weather, confirm flexibility and seam behavior at low temperature; coated fabric behavior changes with polymer formulation and temperature cycling, as discussed here: Low‑temperature performance in coated fabrics.
Troubleshooting matrix
| Symptom | Likely cause | Corrective action |
|---|---|---|
| Local peel failure at zipper tape | Insufficient temp/dwell/pressure; contamination; uneven clamping | Clean surfaces; increase dwell incrementally; adjust pressure; rework with supplemental TPU patch after confirming parameters |
| Bubbles at zipper ends | Sharp corners; gaps at terminations | Add rounded end patches; re‑seal transitions; verify with bubble test |
| Slider jams or misaligns | Tape skew; tight curvature; abrupt stiffness step | Re‑align tape; increase path radius; feather doubler edges; verify tape squareness before welding |
| Edge scorching or delamination | Overheating; incompatible substrates | Reduce temperature/dwell; validate compatibility; switch to RF if heat‑air control is marginal |
| Fold cracks at patch edge | Over‑stiff reinforcement; no taper | Reduce doubler thickness/area; taper edges; validate fold cycles |
Practical example (neutral, illustrative)
For a vertical doorway on a flat wall panel with a gentle top arc, a U‑channel flange can simplify welding and distribute loads while keeping the seam count low. One example is the U‑channel configuration offered by ZIZIP, which provides a weldable flange engineered for TPU‑coated membranes. Use this (or an equivalent) as a pattern reference in prototyping, and verify all joints via your standard coupon and pressure‑decay tests.
Notes and further reading
- Negative pressure and airflow planning for temporary isolation spaces: ASHRAE ACS HVAC Guidebook.
- Isolation ventilation and environmental control practices: CDC Infection Control — Environmental Control Recommendations.
- Coated‑fabric adhesion/seam test context mapping to ASTM methods: Adhesion testing for performance textiles.
Lightweight takeaway: protect stress paths, round every termination, and validate your joints with coupon data plus pressure‑decay checks. Do that, and your airtight zipper placement for inflatable medical shelters will stay sealed—and still pack small.